
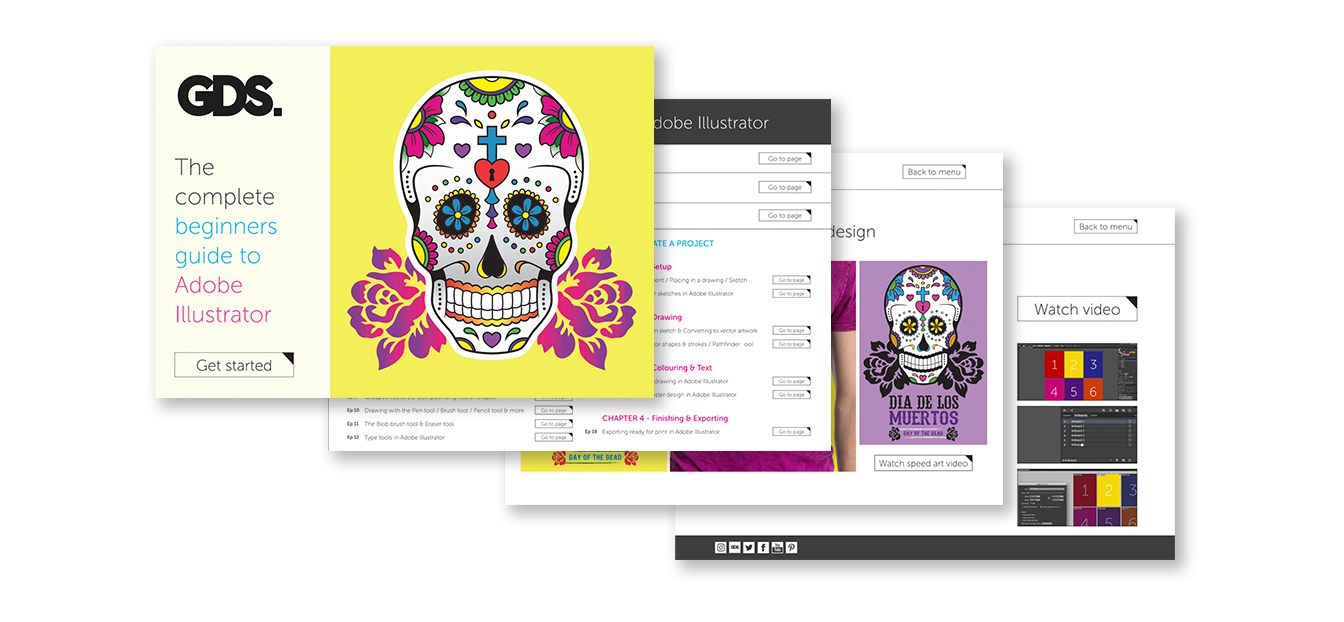
Welcome to the complete beginners guide to Adobe Illustrator where I will be demonstrating how to create a small project in Adobe Illustrator from start to finish.
Along the way, we will be covering many topics, such as:
- How to set up your document
- Understand how the program works
- Use text in Illustrator
- Prepare and import images into Illustrator
- Export your document ready for print.


To help break down the process I have structured the course in 3 main sections:
Section 1 – Introduction
Section 2 – Essential practice
Section 3 – Create a project
**FYI**
In this video series, I will be using Adobe Illustrator CC for Mac.
Almost all of the principles demonstrated and covered will apply to future and previous versions.
Some differences may apply if you are using a previous or future version.

The folder comes complete with worksheets files to help you practise the tools and assets to help you create your own artwork.
[Approx. 270 MB]
Short answer: YES!
In this video series, I will be using Adobe Illustrator CC for Mac.
All of the principles demonstrated and covered in this course still apply to future and previous versions.
Some differences may apply if you are using a previous or future version.
The project folder is downloaded as a .zip which will need to be extracted first.
For MAC:
Use the archive utility. This is a utility that comes with OS.Simply right-click on the .zip file and ‘open with’ Archive Utility.
For Windows:
You can download both .zip or .rar files. It’s recommended you use WinZip or WinRAR to extract the file.If you don’t have a copy of these you can get a free trial.
Get WinZip here
Get WinRAR here
Once installed simply right-click on the .zip file and ‘open with’ WinZip.
or right-click on the .rar file and ‘open with’ WinRAR.
If you need further assitance feel free to get in touch at contact@garethdavidstudio.com