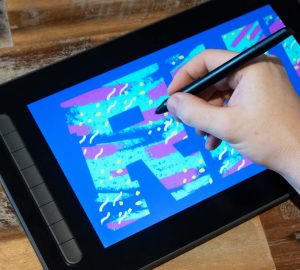

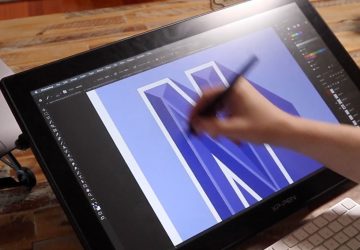

In this tutorial, I am going to demonstrate how you can create a polygonal portrait in Adobe Photoshop with the aid of Adobe Illustrator.
Step 1 – Preparation: 00:03:05
Step 2 – Tracing: 00:05:10
Step 3 – Convert strokes to paths in photoshop: 00:20:32
Step 4 – Coloring: 00:24:45
Step 5 – Finishing touches: 00:35:12
Enjoy and be creative!
Get the project folder from the FREE resource library

Need help? Read the download instructions here.
KEYBOARD PHOTOSHOP AND ILLUSTRATOR SHORTCUTS FEATURED IN THIS TUTORIAL:
P – Pen Tool
A – Direct Selection Tool
I – Eyedropper Tool
X – Toggle foreground and background colour in menu
G – Gradient Tool (Paint Bucket tool)
B – Brush Tool
V – Selection Tool
Cmd (Ctrl PC) Shift A – Deselect active stroke in AI (with pen tool active)
Cmd (Ctrl PC) Shift N – Create new Layer in PS
Cmd (Ctrl PC) L – Create new Layer in AI
Cmd (Ctrl PC) Y – Toggle Outline and Preview mode
Cmd (Ctrl PC) C – Copy
Cmd (Ctrl PC) V – Paste
Cmd (Ctrl PC) N – New Document
Cmd (Ctrl PC) Z – Undo
Cmd (Ctrl PC) D – Deselect active selection in PS
Cmd (Ctrl PC) A – Select All
Cmd (Ctrl PC) W – Close document
Scale + alt + click and drag on point – Scale up (with free transform active)
Toggle Paths Visibility Away – Press Enter (with pen tool active)
Tutorial by Gareth David Studio.
Follow for future tutorials & news.